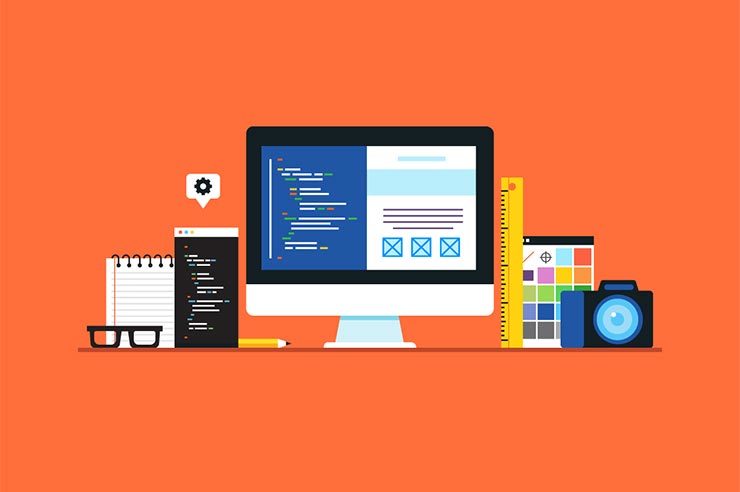
Understanding the WYSIWYG Editor
Ah, the WYSIWYG (what-you-see-is-what-you-get) editor. Most website owners either love it or hate it. That is to say, those without a clue when it comes to coding love it; experienced programmers on the other hand — who know this DIY option is often notorious for creating sloppy code — usually hate it. But if you’re a first-timer when it comes to content management, you’ll definitely want to get to know the WYSIWYG for better or worse.
While all content management systems (CMS) like WordPress feature somewhat unique WYSIWYG editors, many have the same fundamental features. Here’s the lowdown on what you’ll find within most editors.
The WYSIWYG Editor at a Glance
The WYSIWYG editor is available via the back end of your CMS. You’ll usually encounter it when you click to add a new page or edit an existing one. The editor itself is a square box that contains a toolbar above a white textbox.
In the whitespace is where you’ll add your content. Web content can consist of text or even media such as images or videos. Click in the white textbox to begin typing or adding content. You’ll find the WYSIWYG is akin to a word processor — a fact that makes it much less intimidating for most newbies.
The WYSIWYG Toolbar
Just like a word processor, you’ll find a set of tools available to help you add and format new items. Unlike a word processor, saved pages will ultimately be published and made available on the web.
Learn the ins and outs of the editor by creating a new “test” page (a new page that you’ll later delete). Start by familiarizing yourself with the following options:
- Text Formatting – Similar to a word processor, you’ll see text formatting tools. Along with the typical “Bold,” “Underline,” and “Italic,” options, you’ll find paragraph alignments and even pre-sets for text styles known as “Headings.” As you type, be sure to save your work early and often. Remember, the WYSIWYG is an Internet-based editor that can sometimes lose touch with the server that backs up your data.
- Media Tools – You’ll also find toolbar icons meant for adding images and videos. The image icon generally appears as a tiny landscape illustration such as a mountain or beach sunset. The video feature is typically indicated by a film strip or video camera. Each CMS has a different process for adding media. When you click on either icon, it may direct you to first upload the image to the CMS database or else provide the URL location for the image you wish to use.
- Hyperlinking – You can link text or images and other media to a URL or web address. Drag and highlight the text or simply click to select the image you wish to hyperlink. Next, click the “chain link” icon — the standard icon image for hyperlinking across almost all editors. In the following pop-up window, specify the URL for the link destination.
What You See: It Isn’t Always What You Get
Although the WYSIWYG editor is meant to make web design easy, it isn’t without flaws. Depending on your CMS of choice, the editor could have a few “quirks” or even bugs that prevent the content from appearing exactly as you created it on the back end. That’s why testing is a must.
As you design new pages, view them in different web browsers (Mozilla Firefox, Internet Explorer, Safari, Chrome, etc.). Be sure to visit your site on different devices, as well — don’t forget those smartphones and tablets. Note: If a recent change doesn’t show up right away, you may need to clear your browser’s cache before it will appear.
Occasionally, despite your best testing efforts, you’ll find a design issue that goes beyond point-and-click editing. For responsive templates, complicated table sizing, and more, you may need the help of a professional programmer who can custom-code a way out of those tricky problems.
Need to refine your WYSIWYG-made pages? Let us see the potential for what you can get accomplished. Give us a call today and find out how we can help with your website development project.