
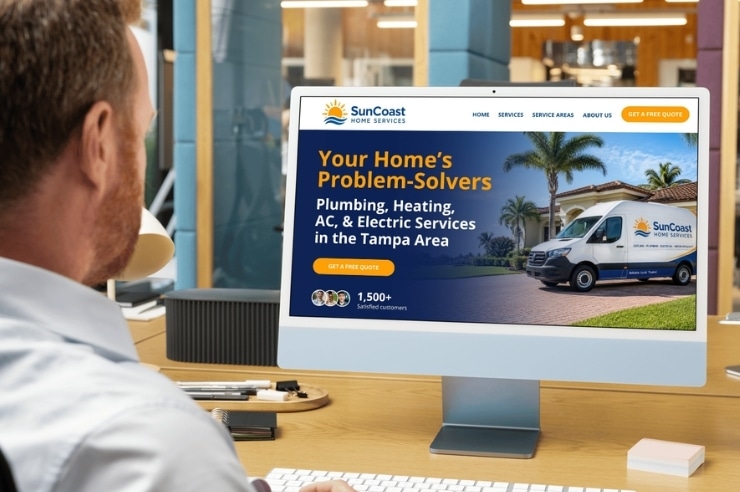
Steps to Properly Setting Up a Website
These days almost every niche is accessible to the masses. The DIY movement has made everyone an “expert” – especially when it comes to technology. The advent of the content management system (CMS), for one, has allowed even the most Internet-challenged to start blogging, selling, etc.
Want to jump on the website-building bandwagon? Check out these seven basic steps to setting up a brand new website, and find out when you should call in the professionals.
1. Pick a Platform (or Web Host)
Your web host matters. The platform and services you choose will determine daily accessibility, as well as what features your site will support. When purchasing a hosting package, consider backend functionality and user-friendliness, data storage amounts, support, and more. Hosts like WordPress cater to the DIY crowd. Choose a CMS system like this provider – one that focuses on usability and customization.
2. Register Your Domain Name
Regardless of whether your web host offers domain names (or web addresses) for purchase, shop around for the best deal. Most web hosts allow users to configure third-party domain names. When purchasing and registering a domain name, pay attention to how long you’ll own it. You’ll need to renew the name every few years to keep the rights to it. Some domain providers offer annual renewal, while others feature 2- or 3-year options.
3. Configure the Website
If you’ve purchased a third-party domain name, you’ll need to configure it or point it to your web host. The domain pointing process varies based on your web host and domain name provider. This process is sometimes complicated for new website owners. An IT specialist can offer assistance with this process to ensure proper setup.
You’ll also want to get familiar with your website’s back end. The basic configuration includes adding a site title and tagline, as well as setting formatting preferences and more. These options are usually found within the platform’s control panel.
4. Choose a Template
Most DIY-style CMS systems like WordPress feature pre-made templates that include customizable color and branding options. Browse for and install a template. The installation process is generally a simple “click to confirm” procedure.
Most templates can be changed at any time, although keep in mind that you may need to adjust your content to suit a new style; i.e. if one template features a sidebar, but you choose a new template with a single-column layout, you’ll need to find a new home for the sidebar copy and images.
5. Add Branding Assets
Within the back-end control panel, you’ll also find a quick-upload feature for your branding assets. Think logo and header. Uploading these graphics via the control panel ensures they’ll display automatically in any location that your template may call them. Later, you’ll add additional graphics as you create new pages for your site using a content or WYSIWYG (what-you-see-is-what-you-get) editor.
6. Setup the Appropriate Features
Does your site need a blog? How about an eCommerce section for the sales of your products and services? Most platforms come with these features, although they will probably need to be configured or “turned on.” In some cases, if your web host doesn’t offer a feature you need as a standard service, it’s usually possible to install a plugin that’ll supplement your site with the needed tool. Plugins require a bit more know-how to install and configure, making them the perfect project for a programming professional.
7. Consider Customization Options
A DIY site is a great way to get your business going, but as your company grows you may need additional support. Personalized design and development are key aspects of a professional-looking site. Customization is a must to achieve a lasting impression.
Need some expert advice on your website development project? Let us support you in customizing your corner of the Internet. Give us a call today and find out how we can help.
Related Posts
Top 10 Reasons Why Your Home Services Website Isn’t Cutting It
In 2026, homeowners don’t flip through the Yellow Pages or ask around the neighborhood before hiring a plumber,...
Read More
Best Ecommerce Platform for SEO in 2026: Shopify, WooCommerce, and WordPress Compared
Choosing the best ecommerce platform for SEO in 2026 is not just about picking the most popular option....
Read More
Marketing Attribution for High-Intent Leads in 2026: How to Track Calls, Forms, and Offline Sales Without Broken Data
If your company depends on quote requests, consultation calls, demo forms, booked meetings, or sales conversations that happen...
Read MoreOur Awards